
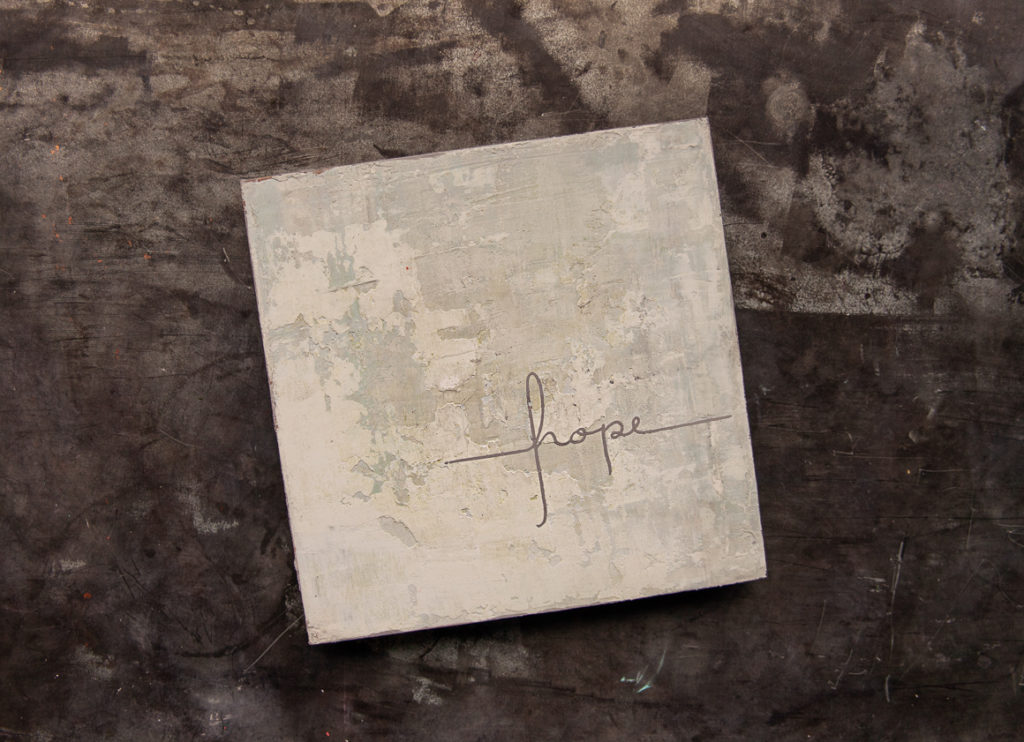
Wall art is about more than filling space or matching your existing decor. It should also be about filling your home (or office) with things that lift you up. That’s why we love this Reminder of Hope wall art project. Using plaster, ChalkArt™, and some beautiful stencils, you can create a one-of-a-kind message that reminds you to always keep the faith.
MATERIALS YOU’LL NEED

- 10x10 surface
- Rescue Restore Paint in Gathered (2oz)
- Cute As A Button ChalkArt™
- Can't Never Could ChalkArt™
- Venetian Plaster
- Hope Faith stencil
- Spreader (2)
You will also need a small spray bottle, scissors, a bowl, and a spoon. To see how Amy Howard herself recommends creating this wall art, make sure to watch this week’s Maker Monday video:
CREATING YOUR TEXTURED WALL ART
- Mix your plaster with water, using 2 parts plaster to 3 parts water. You want it to be the consistency of thicker sour cream.


2. Once your plaster is properly mixed, use your spreader to apply a thin coat of plaster to your surface. Also apply consistently, scraping the excess as you go. Allow it to dry.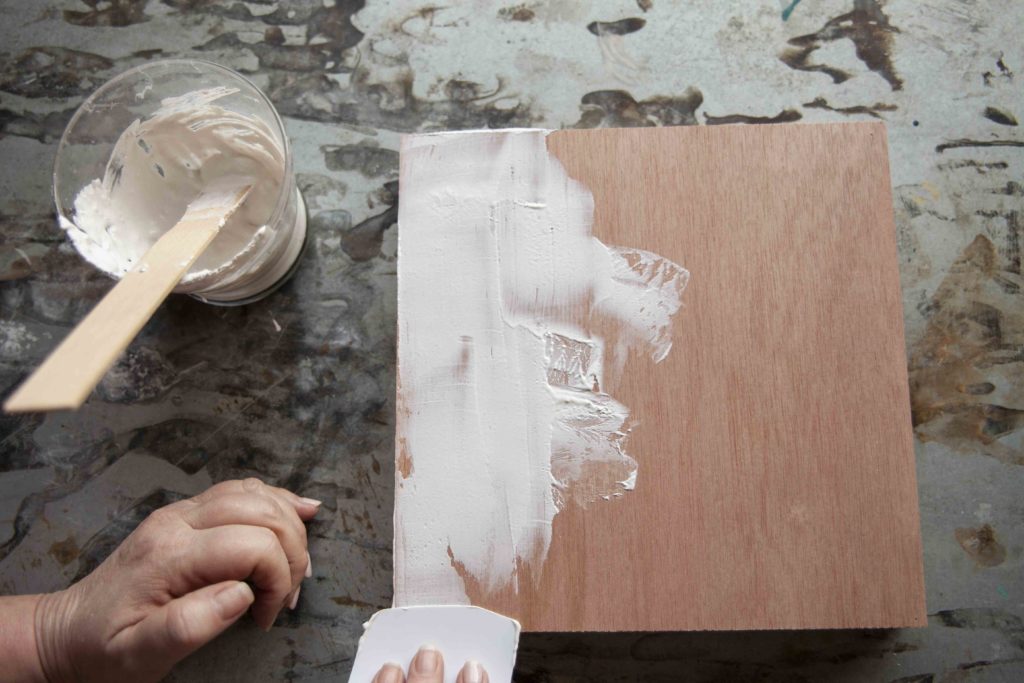


3. Cut one spreader into 3 parts.
4. Spray your dried plaster surface with a little bit of water.
5. Using one spreader, apply your Cute As A Button ChalkArt™ in different sections of your board. The water will make it easier to pull the chalk paint across the plaster, as well as leave an authentic, aged appearance.

6. Overlay plaster on the chalk paint, moving your spreader (loaded with the plaster) lightly up and down and from side to side. Continue to add plaster until you only get a small peek-through of the Cute As A Button blue paint.

7. Next, lay in Can't Never Could ChalkArt™ and repeat Steps 5 and 6. Apply this layer only in small, choppy strokes — do not cover the entire surface. This paint will dry very light, but you don’t want a lot of it.

8. Using your third spreader, apply the Gathered Rescue Restore paint lightly to your surface. Use this paint layer to blend the gray, blue, and plaster, making sure to apply as thin as possible and to leave negative space (with no Rescue Restore paint).
9. Continue to add colors and plaster until you are satisfied.
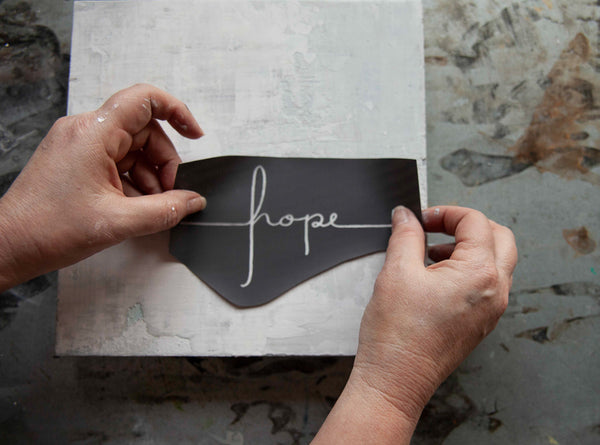
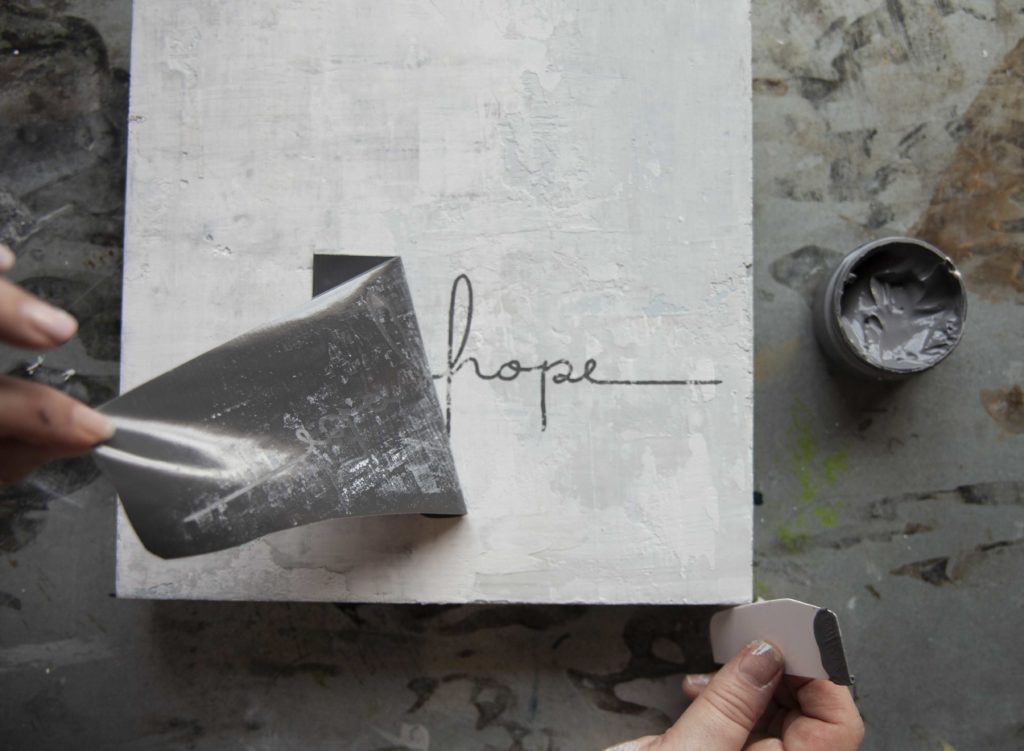
10. Once all the layers of plaster and paint are completely dry, cut the Hope Faith stencil and lay it on your surface in the lower right quadrant. Then, paint the “Hope” text using the Can't Never Could ChalkArt™ using a clean spreader.

11. Remove the stencil, wash it and lay flat to dry.

Of course, Amy shares a ton of tips and extra insights on this project, so make sure to tune into the Maker Monday video below.
If you want more great tips like this, and want to keep learning how to make the most of your Maker Monday kits, follow us on Facebook. Then, tune in on Mondays at 10am Central for these fun tutorials!
We’re looking forward to crafting a beautiful life with you.
Leave a comment