Inside A Makers' Studio
Inside A Makers' Studio
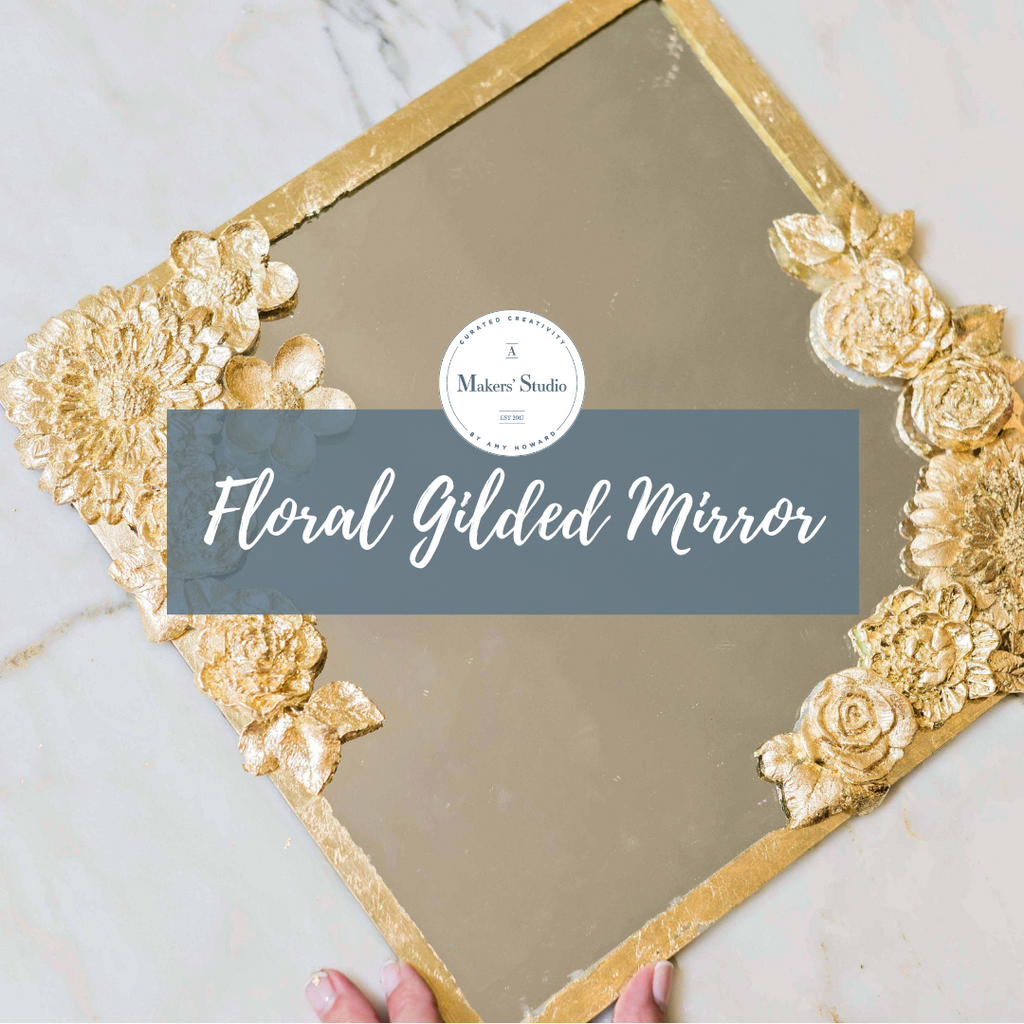
Floral Gilded Mirror
This DIY takes a plain or thrifted mirror and turns it into your favorite piece of décor. Decorate your home with custom pieces made yourself with just a few products from A Makers' Studio. Whether you enjoy a sleek modern look or an antique vintage vibe, our new line of Decorate Molds are a must have.
Products Needed:
- Acrylic Glacier Resin Bundle
- Your Choice of Decorative Mold (we used My Flower Garden and Rose Garden)
- Gilding Size
- Your Choice of Leaf (we used Gold Leaf)
- Resin Measuring Cup (or any disposable cup on hand)
- Artist Brush (or any small paint brush)
- Chip Brush (or any medium sized paint brush)
- Light and Dark Wax (optional to antique)

Step 1
Measure Out Resin/Hardener Mixture and Mix
To make your final piece more flexible (if applying to curved surfaces), simply pour in your mixture of 60% resin with 40% hardener and mix well for 3 minutes. Pour into the mold and allow to dry overnight. Pop out your design and apply with super glue to your frame, furniture, or decorative object.
The recipe to make the resin very hard and inflexible would be a 1:1 ratio of resin and hardener. Measure to ensure exact mixing ratios. Your working time is 20 minutes once mixed. Your gel time is 30 minutes. Allow the surface to dry for 6-9 hours. For crafting, your through dry time is 10-14 hours. We recommend letting it cure overnight.
If you prefer using air dry clay in lieu of resin, you will notice some shrinkage and cracking. Be aware that air dry clay will not give you the detail that you can get with Resin.

Step 2
Pour mixture into your choice of Decorative Mold and let cure overnight. Pop out of the mold once hardened.

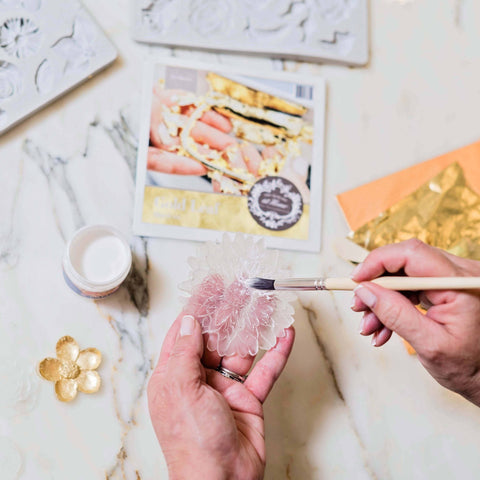
Step 3
Use the Artist Brush to apply Gilding Size all over the mold (or to specific areas you want to gild), and let it come to tack (very sticky / not completely dry). This takes about 10-15 minutes. You can tell the Size has come to tack when you touch it and the skin of your finger comes away with some resistance.
Tip: Gilding Size is like glue, so be sure to keep the edges of your jar very clean so it can be easily opened in future.
Step 4
Once the Size comes to tack, open your leaf booklet and peel back the first tissue. Hold it by the spine of the booklet with your hands on the tissue, not the leaf. Lay the leaf face down on the mold. Burnish (rub) in one direction with your hand while the booklet is still on the leaf you just laid. Remove the booklet and repeat if the mold was not completely covered. Overlap each additional sheet just slightly so as to hide lines.
Take a Chip Brush and smooth in the same direction as you burnished to take away excess leaf. After the larger chunks of leaf are detached you can rub a little more vigorously with the chip brush o remove smaller sections of the leaf in the details.
Repeat this same process on the edges of your mirror, taping off 1/2" from the side. Apply Gilding Size, let it come to take, apply your leaf, burnish, brush away excess, and peel away your tape to reveal a clean gilded edge.
Tip: You may re-use the excess leaf being brushed away!


Step 5
Using hot glue or super glue, apply your mold pieces to the corner and edges of the mirror (or place wherever you'd like). They may also be overlapped if desired.

Step 6
If a more antique look is desired or you want to tone down the leaf a bit, apply Light Wax in a cross hatching motion with a Chip Brush (offload onto cardboard before applying). Allow to come to tack (20-30 minutes), and then apply Dark Wax the same way but lightly only over about 20% of the surface. Allow to come to tack (20-30 minutes), and then buff with a t-shirt or lint free rag.
Finally
Hang in your home, gift to a friend, and Enjoy the Bragging Rights of the beautiful mirror you made yourself!

Check out amakersstudio.com for more creative tutorials and to browse our other products.
Do you have more of a desire to refinish furniture or transform larger pieces? Take a look at our sister company, Amy Howard at Home, for furniture paints, antique finishes, specialty techniques, and more.