Inside A Makers' Studio
Inside A Makers' Studio
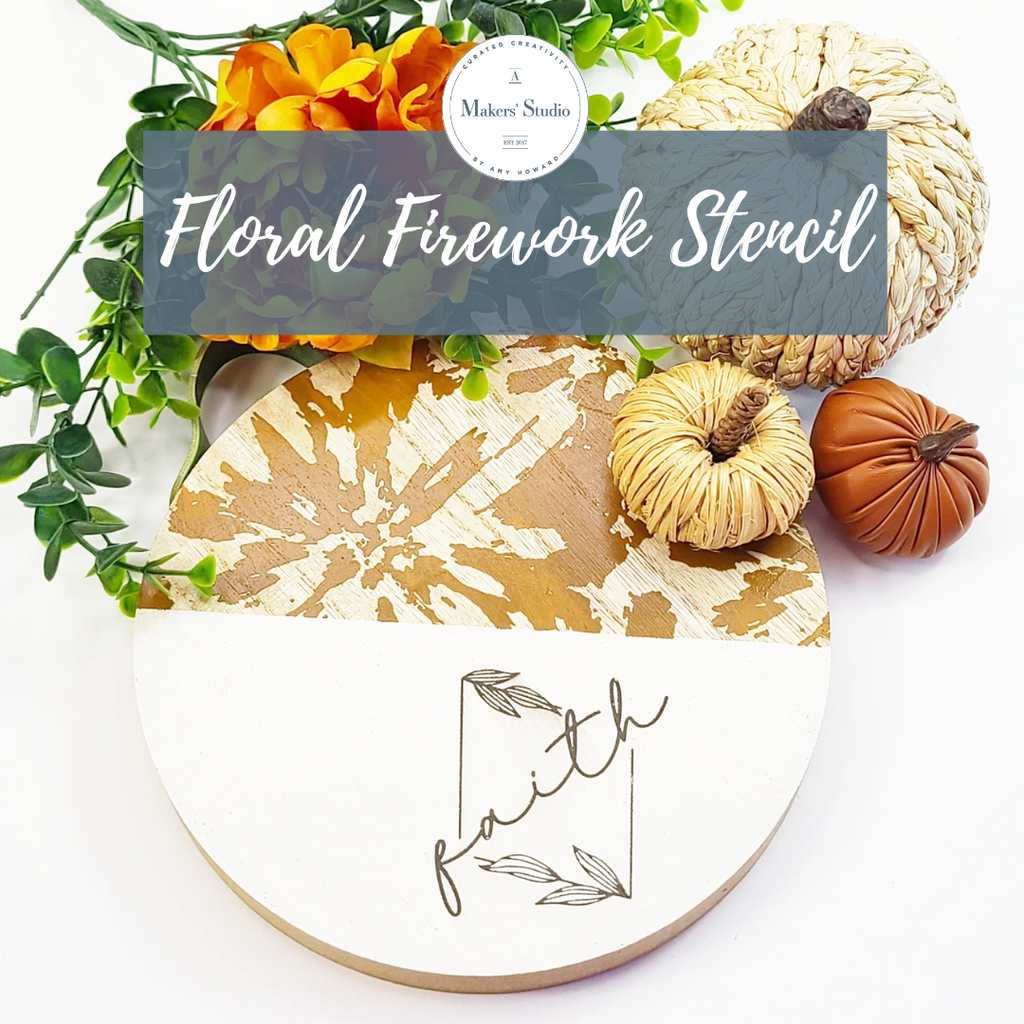
Fun Fall DIY
The perfect cutting board for the upcoming FALL season. This stencil will create a fabulous background on any surface. Watch Lianep from DIY Beauty on Purpose as she takes you step by step on this fun DIY decor!
Products Needed:
Additional Supplies:
- Masking Tape
- Scissors
HOW TO

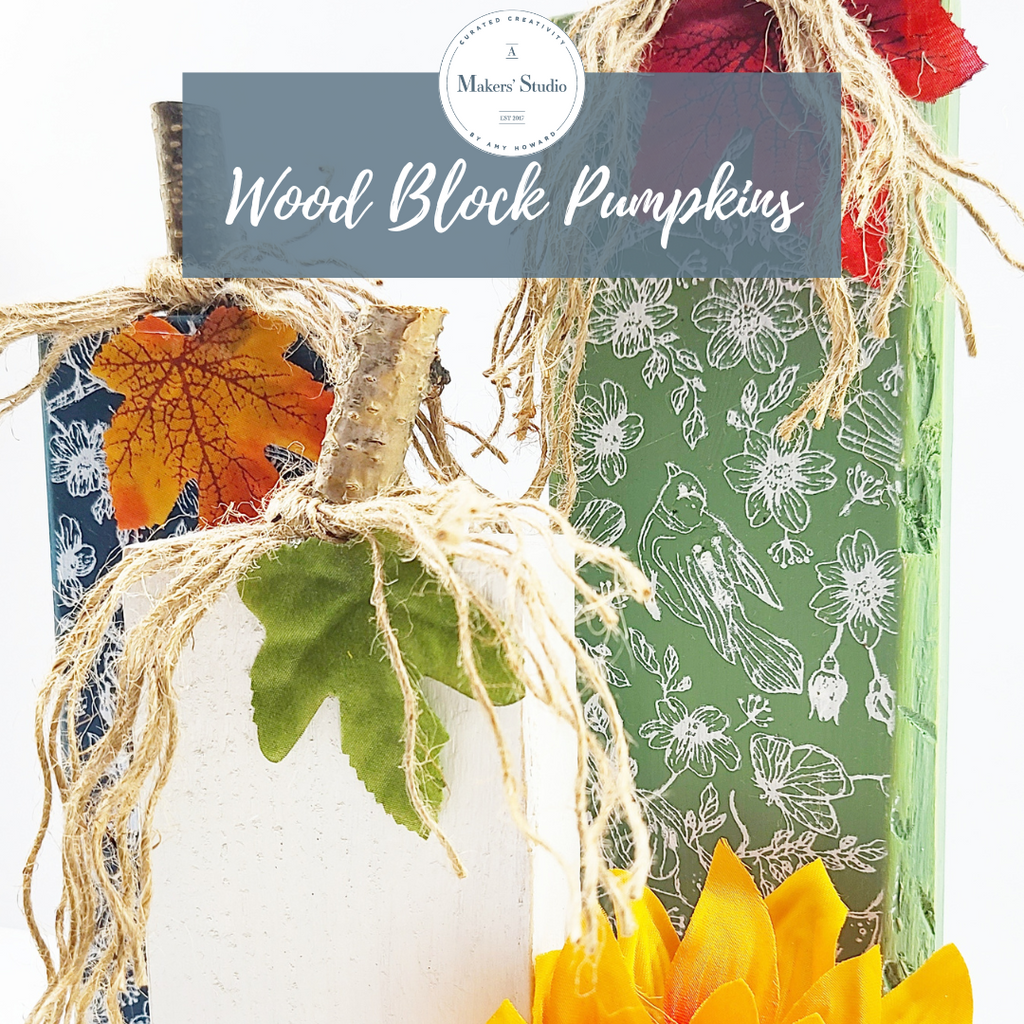
How To: Wood Block Pumpkins
It's (almost) fall y'all! We have fabulous new Mesh Stencil designs dropping for the season. Watch Lianep from DIY Beauty on Purpose use the NEW Birds and Buttercups Mesh Stencil to create wooden fall décor pieces. Don't miss it; we can't wait to see what you make!
Shop What She Used:
- Birds and Buttercups - Mesh Stencil
- Angled Squeegee
- English Boxwood - One Step Paint
- Midnight Dreams - One Step Paint
- Ballet White - One Step Paint
- Well I Declare - Gel Art Ink
Additional Supplies:
- Wood Blocks
- Short Wood Branches (for pumpkin stems)
- Jute or Twine
- Fall Leaves (fake or real)
HOW TO

For more fun tutorials and products, visit our blog at A Makers' Studio.com!
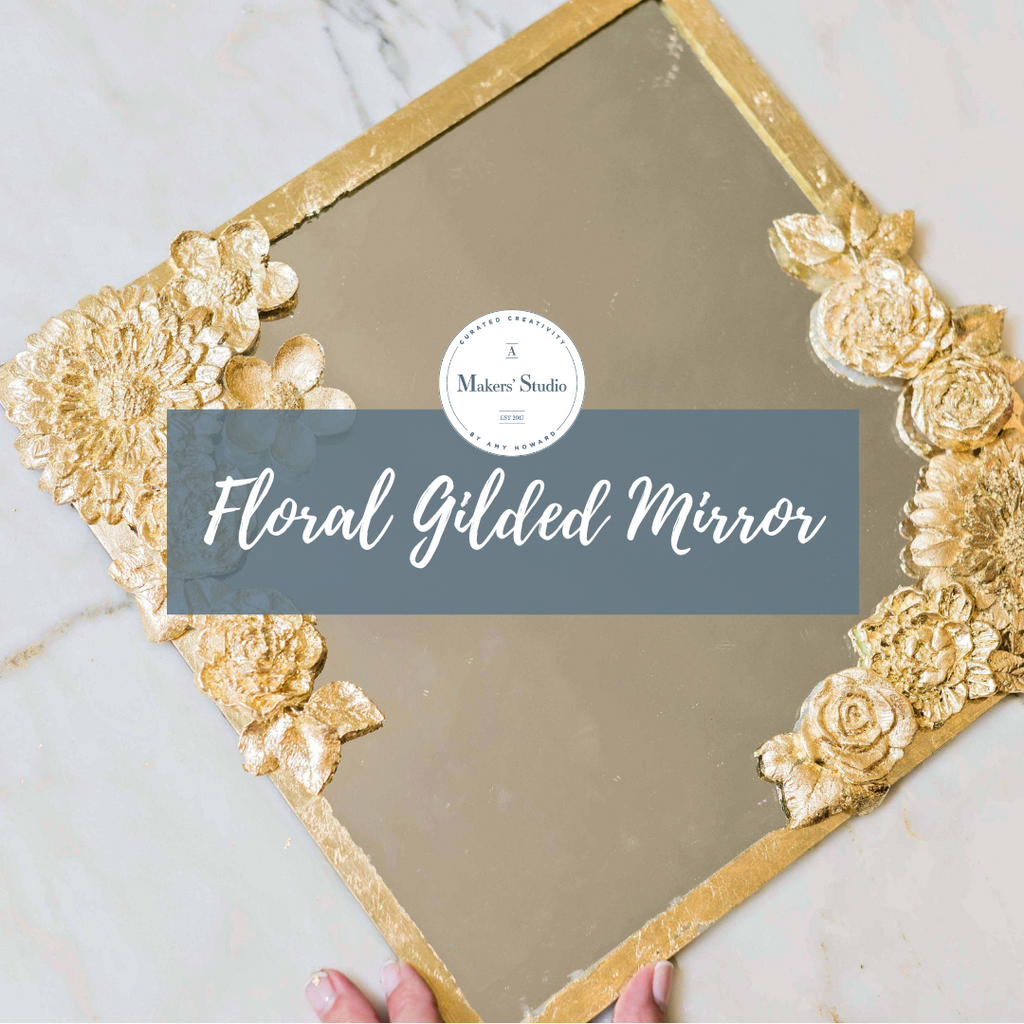
Floral Gilded Mirror
This DIY takes a plain or thrifted mirror and turns it into your favorite piece of décor. Decorate your home with custom pieces made yourself with just a few products from A Makers' Studio. Whether you enjoy a sleek modern look or an antique vintage vibe, our new line of Decorate Molds are a must have.
Products Needed:
- Acrylic Glacier Resin Bundle
- Your Choice of Decorative Mold (we used My Flower Garden and Rose Garden)
- Gilding Size
- Your Choice of Leaf (we used Gold Leaf)
- Resin Measuring Cup (or any disposable cup on hand)
- Artist Brush (or any small paint brush)
- Chip Brush (or any medium sized paint brush)
- Light and Dark Wax (optional to antique)

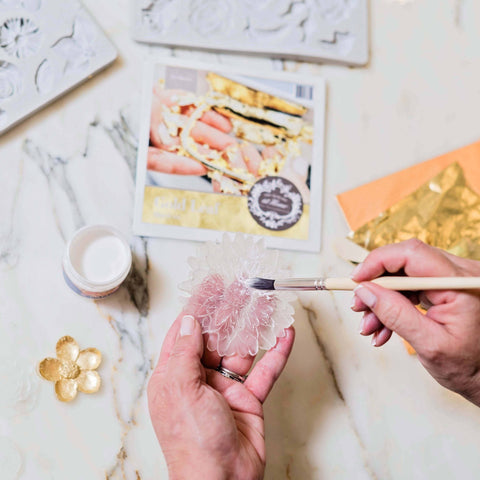
Step 1
To make your final piece more flexible (if applying to curved surfaces), simply pour in your mixture of 60% resin with 40% hardener and mix well for 3 minutes. Pour into the mold and allow to dry overnight. Pop out your design and apply with super glue to your frame, furniture, or decorative object.
The recipe to make the resin very hard and inflexible would be a 1:1 ratio of resin and hardener. Measure to ensure exact mixing ratios. Your working time is 20 minutes once mixed. Your gel time is 30 minutes. Allow the surface to dry for 6-9 hours. For crafting, your through dry time is 10-14 hours. We recommend letting it cure overnight.
If you prefer using air dry clay in lieu of resin, you will notice some shrinkage and cracking. Be aware that air dry clay will not give you the detail that you can get with Resin.

Pour mixture into your choice of Decorative Mold and let cure overnight. Pop out of the mold once hardened.


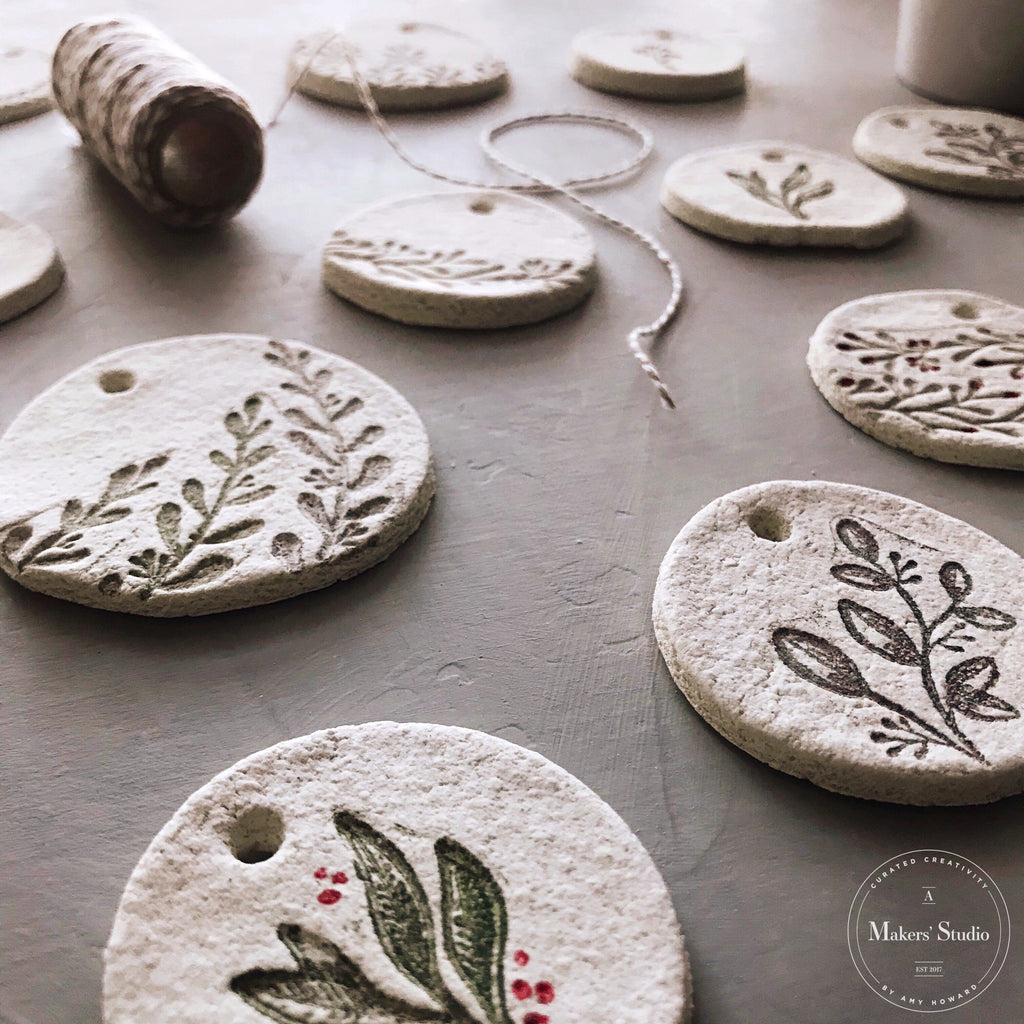
DIY SALT DOUGH GIFT TAGS | Using Clear Stamps and Gel Art Ink
These Salt Dough Gift Tags are so elegant and unique. Create these to impress your gift recipients this year! Watch as Amy & Michelle show you the best techniques for creating these tags.
Supplies:
- 2 Cups All Purpose Flour
- 1 Cup Salt
- ½ Cup Water
- Bauhaus Buff - One Step Paint
- Gel Art Ink – Grass Is Always Greener
- Gel Art Ink – Bless His Heart
- Gel Art Ink – Blowin Up a Storm
- Gel Art Ink – Hold Your Horses
- Clear Stamp – I Love You/Family
- Clear Stamp – Foliage
- Foam Dome Brush
- Cookie or Biscuit Cutters (or some other round object)
Instructions:
- In a large bowl, mix together flour and salt.
- In a smaller bowl, mix together water and ½ cup Rescue Restore Paint Blessed.
- Then pour paint mixture into larger bowl of flour/salt mixture. Mix together until large ball forms.
- Place ball of dough onto floured surface. Using a rolling pin, work the dough until it is between ¼ and ½ inch thick.
- Use cutters to create tags, placing them on a sheet of wax paper.
- Using a pencil or back end of an artist brush, create holes for threading string through.
- Then place a dab of Gel Art Ink on a clean surface and load the foam dome brush by dabbing it with an up and down motion, offloading as you go.
- Carefully dab the ink onto the stamp, using the same up down motion. Be sure to wipe off any excess ink that gets on the rim of the stamp.
- Now carefully place the stamp straight down onto the tag, applying medium pressure to ensure it stamps evenly.
- Then lift stamp straight up washing it with lukewarm water once done.
- Optional: You can add little red dots/berries by using a small brush and Bless His Heart Gel Art Ink.
- Allow tags to fully air dry for 72 hours, flipping them once daily.


