Inside A Makers' Studio
Inside A Makers' Studio
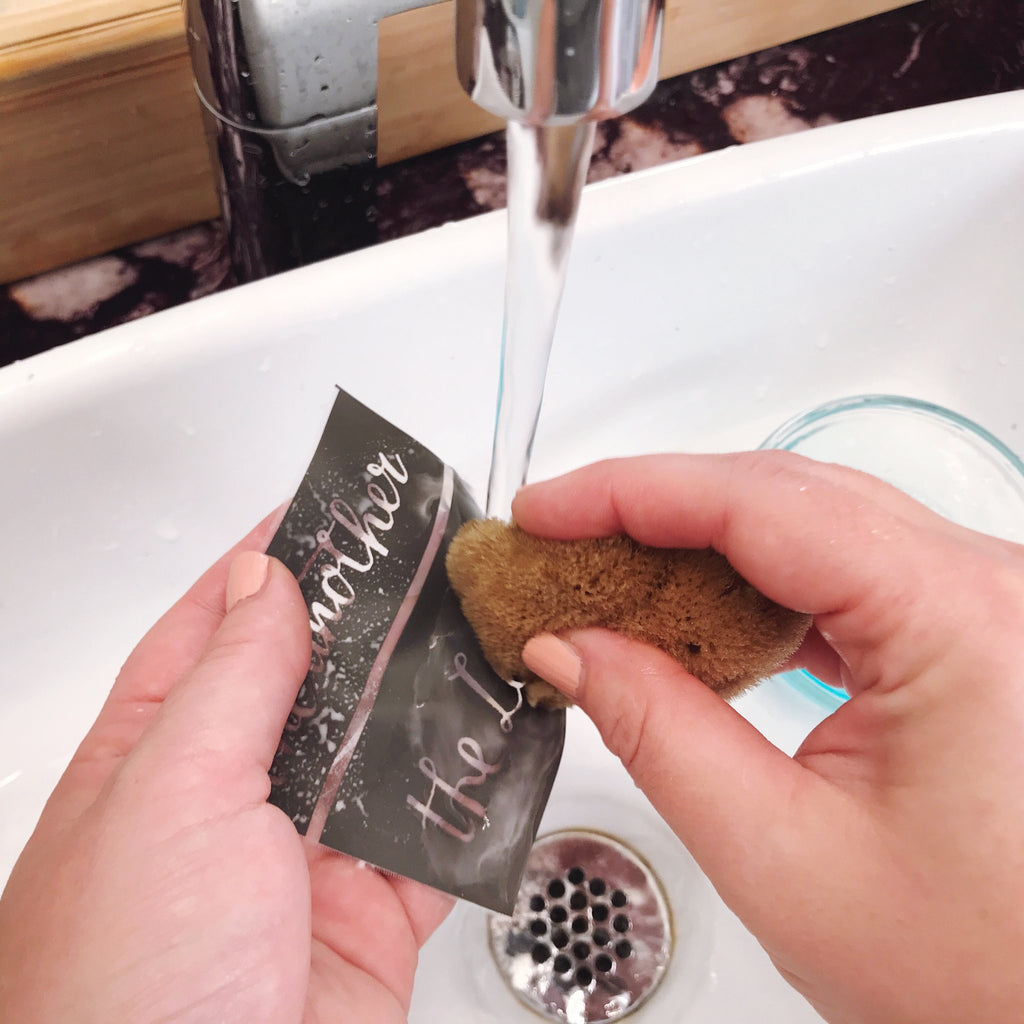
HOW TO CLEAN YOUR MESH STENCILS
WATCH THIS VIDEO TO LEARN HOW TO CLEAN YOUR STENCILS. YOU CAN USE YOUR STENCILS OVER AND OVER AGAIN WITH PROPER CARE.
FOR CHALKART, GEL ART INK, AND CERAMIC PAINTS - LUKEWARM WATER AND YOUR HANDS SHOULD DO THE TRICK.


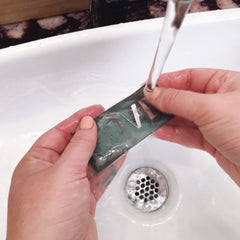
FOR PAINTS AND GILDING SIZE, YOU MAY WANT TO USE DISH SOAP AND A SPONGE.

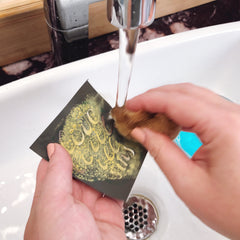

LASTLY, LAY STICKY SIDE UP TO DRY!


DIY GILDED SPOON REST
Products used for this project are linked at the bottom of the page.


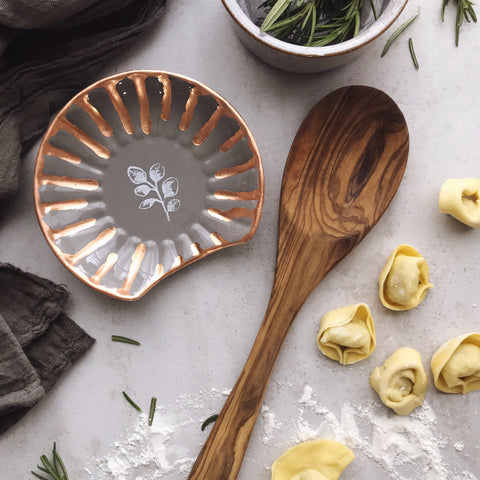

- Angel Wings - Ceramic Paint
- Foliage - Clear Stamp (or any other Clear Stamp design you like)
- Gilding Size
- Pure Copper Leaf
- Foam Dome Brush
- Artist Brush
- Chip Brush

DIY CERAMIC FLORAL PLATES
Have you ever wanted incredible plate ware without that incredible price tag?
At A Makers' Studio, we're going to show you just how easy it is to craft your very own DIY ceramic dishes.
And the best part??
With our custom formulated Ceramic Paints, your DIY plate designs are food safe and washable!
DIY CERAMIC FLORAL PLATE INSTRUCTIONS
Step 1: Start by dipping your Artist brush into the gilding size and then using your finger to flick the size onto the plate.

Step 2: Once done, go back with your brush and carefully lift up any thick drops, maintaining the original shape of the splatter.

Step 3: Once the size has come to tack (it will appear translucent) you can apply the Silver Leaf.

Holding the spine with one hand, pull back the tissue with the other hand and lay the leaf down covering the area with size.
Step 4: After burnishing (pressing and rubbing down firmly) lift leaf packet up and continue the process until the entire plate is covered.


Step 5: Using a stiff brush, remove the excess leaf.

Step 6: Next, cut out sections of your Season stencil and place along the edge of the plate.

Step 7: Begin smoothing out any bubbles that are within the design, pushing them to the edges of the stencil.
Step 8: Next, place a dab of Black Ceramic Paint onto your Artist Brush and apply it to the stencil.


Step 9: Now carefully remove the stencil and immediately wash it with lukewarm water.

Step 10: Continue the process around the edge of the plate and onto another side.

Step 11: Once done, place in a cool oven and heat it to 325 degrees for 35 minutes. Turn oven off and allow it to cool inside the oven.
Step 12: Once cooled, place a dab of Tally Ho, Hot and Spicy, and Angel Wings on a piece of scrap cardboard and begin mixing together with your Artist Brush.

Step 13: Dip your brush into some water and then begin to paint in some of the flowers, just like paint by numbers.

If it is still too thick, you can dip your brush in the water again and mix it into the paint.
Step 14: Once you have added the coral color to desired flowers, go back and add a dab of Angel Wings to the mixture to create a lighter version.

Step 15: Begin applying it to the edges of each petal you have already painted with the coral color.
Step 16: Wash your brush off with water, then continue the process using the Smoke Got In My Eyes Ceramic Paint and any other combinations you like.

Step 17: Once done, place in a cool oven and heat it to 325 degrees for 35 minutes. Turn oven off and allow it to cool inside the oven.

NOW IT'S YOUR TURN TO CRAFT YOUR VERY OWN FLORAL PLATE DESIGN!
Here are the A Makers' Studio products used for this tutorial...
Ceramic Paint – Angel Wings
https://amakersstudio.com/products/ceramic-paint-angel-wings
Ceramic Paint – Black
https://amakersstudio.com/collections/ceramic-paint/products/ceramic-paint-black
Ceramic Paint – Smoke Gets In My Eyes
https://amakersstudio.com/collections/ceramic-paint/products/ceramic-paint-smoke-gets-in-my-eyes
Ceramic Paint – Hot And Spicy
https://amakersstudio.com/collections/ceramic-paint/products/ceramic-paint-hot-spicy
Ceramic Paint – Tally Ho
https://amakersstudio.com/collections/ceramic-paint/products/ceramic-paint-template
Mesh Stencil – Season
https://amakersstudio.com/products/mesh-stencil-season-12x18
Silver Leaf
https://amakersstudio.com/products/imitation-silver-leaf-6-x-6
Gilding Size
https://amakersstudio.com/products/gilding-size-2-oz?_pos=1&_sid=7d17260f8&_ss=r
Artist Brush
https://amakersstudio.com/products/artist-brush
Chip Brush