
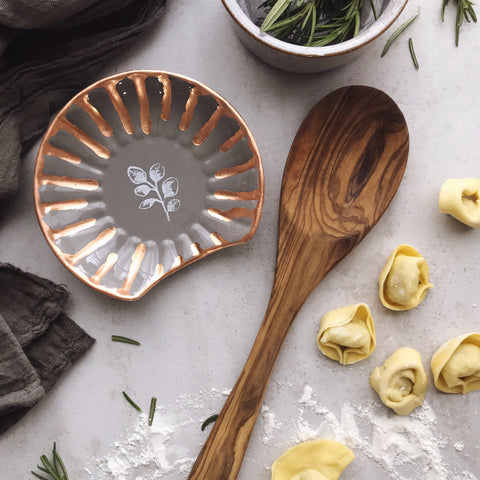
Love to cook but hate the mess? This is the perfect DIY project for you! While it won't make cleaning dishes any easier, using a durable spoon rest can prevent those messy utensils from making your kitchen countertops dirty. And who says that spoon rest can't be beautiful?
In this A Makers' Studio tutorial, you'll learn how to craft your very own gilded spoon rest in just a few steps.
DIY GILDED SPOON REST INSTRUCTIONS
Products used for this project are linked at the bottom of the page.
Step 1: Begin by placing a dab of Angel Wings Ceramic Paint onto a piece of scrap cardboard.

Step 2: Using your Sponge Brush, load, and then offload it by using an up-down motion.

Step 3: Next, using the same up-down motion, apply the paint onto your stamp.

Step 4: Very carefully place the stamp in the center of your spoon rest, apply gentle pressure. Then carefully life the stamp straight up.


Step 5: Place in a cool oven and heat it to 325 degrees for 35 minutes. Turn oven off and allow it to cool inside the oven.
Step 6: Once cooled, use your Artist Brush and dip it into the Gilding Size. Then lay the brush on the edge of the spoon rest and press down to scrape off the size onto the edge of the rest. This should cause a large drip to begin running down the side. Continue this around the entire edge.

Step 7: Once done, go back with a clean brush (or even a Q-Tip) to extract some of the larger puddles of size.
Be careful not to alter the shape of the drop, just remove the excess size.

Step 8: Once the size has come to tack (it will appear translucent) you can apply the Copper Leaf.
Holding the spine with one hand, pull back the tissue with the other hand and lay the leaf down covering the area with size.

Step 9: After burnishing (pressing and rubbing down firmly) lift leaf packet up and continue the process until it is all covered.

Step 10: Using a stiff brush, remove the excess leaf.

Now you're ready to get cooking!
To clean, hand wash with soap and water to ensure the longevity of your beautiful new DIY gilded spoon rest.
READY TO GET STARTED ON YOUR DIY PROJECT?
Here are the A Makers' Studio products used in the tutorial...

- Angel Wings - Ceramic Paint
- Foliage - Clear Stamp (or any other Clear Stamp design you like)
- Gilding Size
- Pure Copper Leaf
- Foam Dome Brush
- Artist Brush
- Chip Brush
Leave a comment