Calendars are necessary if you want to keep your family on schedule, but that doesn’t mean you’re stuck with pinning something unattractive on the wall or creating a scheduling binder from scratch! Instead, make your own customized calendar with an old frame and some Rescue Restore Paint. In this fun Maker Monday video, Amy Howard walks you through how to create your own one-of-a-kind chalkboard calendar using A Makers’ Studio’s new Chalkboard Calendar Bundle. Once you’ve got the tools you need, you can check out the Maker Monday video below to start crafting:
MATERIALS YOU’LL NEED
For this chalkboard calendar project, you’ll need the following items, all of which you can find in the Chalkboard Calendar Bundle:

- Peace and Joy ChalkArt™
- Gathered Rescue Restore Paint (2oz)
- Little Black Dress Rescue Restore Paint
- Calendar stencil
- Sponge brush
- Spreader
You’ll also need a frame in whatever size and material you prefer (the bigger the better, though)! Also, don’t forget the chalk.
CREATE A CUSTOM CHALKBOARD CALENDAR WITH AMY
- Take your frame apart by removing the backing and the glass.
- Paint the backing of your frame with Little Black Dress Rescue Restore Paint and allow it to dry.
- Cut the days of the week and month you want to use out of the calendar stencil. Before you apply paint to your stencils, decide where you want them to go, as this will determine where you place your lines.
- Cut out the line stencils on the right side of your stencil sheet, making sure to cut only the line closest to the other stencils. Then, lay the stencil down to do your first line horizontally (across) your backing. Apply Peace and Joy ChalkArt™ with your spreader. Continue this until your line is finished, washing your stencil when needed.
- Lay your vertical line and repeat Step 4. Then continue the horizontal lines that will separate your days of the week, completing the grid.
- Stencil in your days of the week in their designated “boxes” with Peace and Joy ChalkArt™, and then add your month at the top.
- Season your calendar by turning your chalk sideways and rubbing it across the backing of your frame. Then, your chalkboard is ready to use!
- Optional: Paint your frame or dry brush it using the Gathered Rescue Restore Paint. Let the paint dry and then put your frame back together.
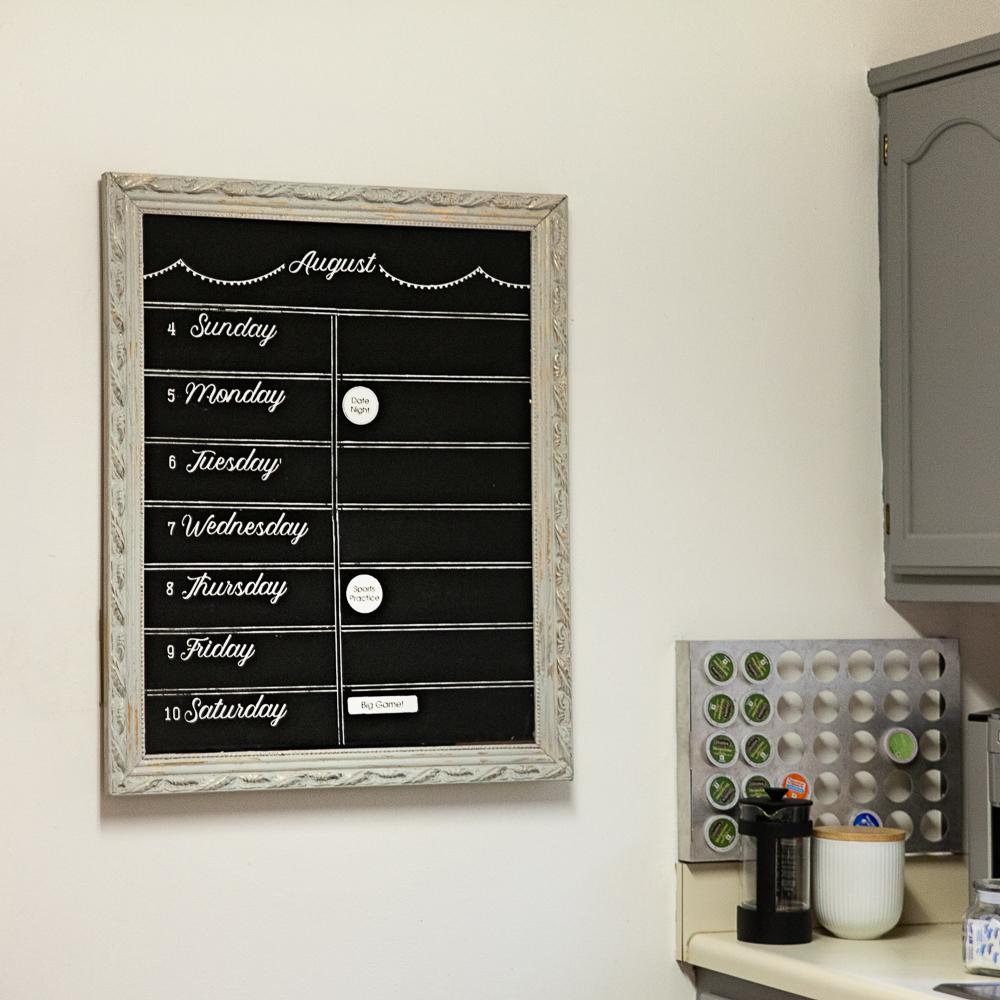
In no time at all, you’ve got an adorable chalkboard calendar you can wipe clean and re-customize each week or month! Best of all, it’s a one-of-a-kind calendar you can’t find anywhere else.
Leave a comment